Decided to make some DIY Whipped Body Butter. I was inspired by two different recipes.
1. from Wellness Mama
2. From Life Ann Style
I love how Life Ann Style incorporated upcycle into this project using old candle jars. I didn’t have those. The recipes make a lot so make sure you have many jars or one pretty large one. Here is my supply list.
- Hand Mixer
- Metal Bowl
- Pot + water you will set it to medium. Sticking the mason jar with butters and oils in to melt. Do not put essential oils in until you place into bowl. You can also wait until you whip everything.
- Mason Jar (32oz) can heat in the water instead of doing double broiler or pyrex measuring cup. I can use the same jar for future body butter projects. I don’t like mixing food use items with craft use items.
- Mixing stick or spoon spoon or whatever
- Droppar Jar from Ikea
- Cocoa Butter ½ cup (mine is in a block so I just chopped it up into little blocks and placed into measuring cup)
- Mango Butter ½ cup (same chopping as mentioned above)
- Shea Butter 2 tablespoons
- Coconut Oil 2 tablespoons
- Coconut Oil Vanilla Monoi Tiare (this is coconut oil infused with a vanilla bean, vit e oil, and tiare flower)
- Sweet Almond Oil 1/2 cup
- Sweet Orange Pure Essential Oil 30 drops
- Avery Brown Kraft Labels
If you are looking for these supplies and more you can find them on Mountain Rose Herbs . Mountain Rose does a great job at explaining the items and their technical things.
Good prices. I also use amazon for a lot of my purchases too.
Something important to think about is whether or not you want to use flavoring in your body butter. Wellness Mama only uses essential oils. Life Ann Style does use flavoring from Brambleberry. Flavoring is not natural so if you were making these for all natural you would not be able to do this using flavoring. There is a good blog post about that here
So the how to make you can find on the links I provided for the sites.
It really is easy though. Everything melts in the jar. Pour into the metal bowl once that happens. Throw in your essential oils. Mix. Let cool for 15 min on counter. Set into the fridge for 1 hour. If you can stick your finger into the top with light pressure then you are ready. Get your mixer out. Mix for 10 minutes. Seriously 10 minutes. You need to put some elbow grease into it so you get everything off the sides. You want it to be fluffy and creamy. Then put into your jar. easy peasy.
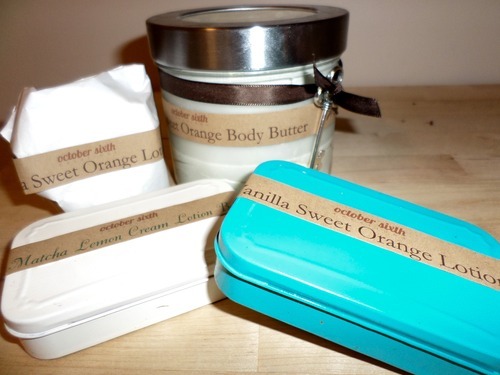
Decorate the jars however you want. I made labels. I used simple accessories. I had these keys and brown ribbon from a table place card from a wedding I went to Saturday. Thought it was perfect addition to the jar. These awesome for celebrations you may be having. Great gifts. Easy to do.